Continuous deployment of ASP.Net Core to Azure using Bitbucket Pipelines.
Bitbucket Pipelines is the new continuous delivery feature from Bitbucket. It is meant as a replacement for Bamboo cloud that will be discountinued by the end of January 2017.
It’s built over Docker, it basically loads a Docker image (which you can choose) and allows you to run a script to build and deploy your application.
The goal of this article is to guide you through the process of deploying and ASP.Net Core application to Azure App Services using Bitbucket Pipelines.
Warning it’s a quite lengthy post because I wanted to create something that was completely reproductible which meant going through the Bitbucket and Azure setup. If you’re already familiar with Bitbucket and Azure, go directly to the Step 4 which will explain the setup of Pipelines.
Pre-requisites
To follow this tutorial, you’ll have to have installed both NPM and the latest .Net Core (1.1) runtimes.
- To install NPM, you’ll have to install NodeJS. Follow the instructions on the official website.
- For ASP.Net Core, follow the instructions ont the official website. Chose the command line installation for your OS of choice.
Step 1: Creating the ASP.Net Core application
To get started, let’s create a simple ASP.Net Core application. I’ll be using the Yeoman ASP.Net Core Single Page App generator. The first step is therefore to install yeoman and this generator.
Both can be installed easily through NPM:
npm install -g yo generator-aspnetcore-spa
Once installed, create a folder where you want to create your project, initialize a git repository and run the command to execute the generator. The options you select for the generator doesn’t matter, I’ve used “Angular 2”, yes to unit tests and the default for the project name.
Finally, we’ll do a quick commit for good measures:
mkdir dotnet-azure-pipelines
cd dotnet-azure-pipelines
git init
yo aspnetcore-spa
git add --all
git commit -m "Run Asp.Net Core SPA generator"
We can now try to run the application and check that everything is working as expected.
dotnet run
This will start kestrel and you should be able to access the application by going to http://localhost:5000.
Check that everything is working correctly, check that when you access the counter component pushing the “increment” button, the counter increses. Also check that the fetch data component correctly displays the weather data.
Step 2: Create the repository in Bitbucket
We’ll create a simple repository in Bitbucket where we will store the project’s code and where we will configure Pipelines.
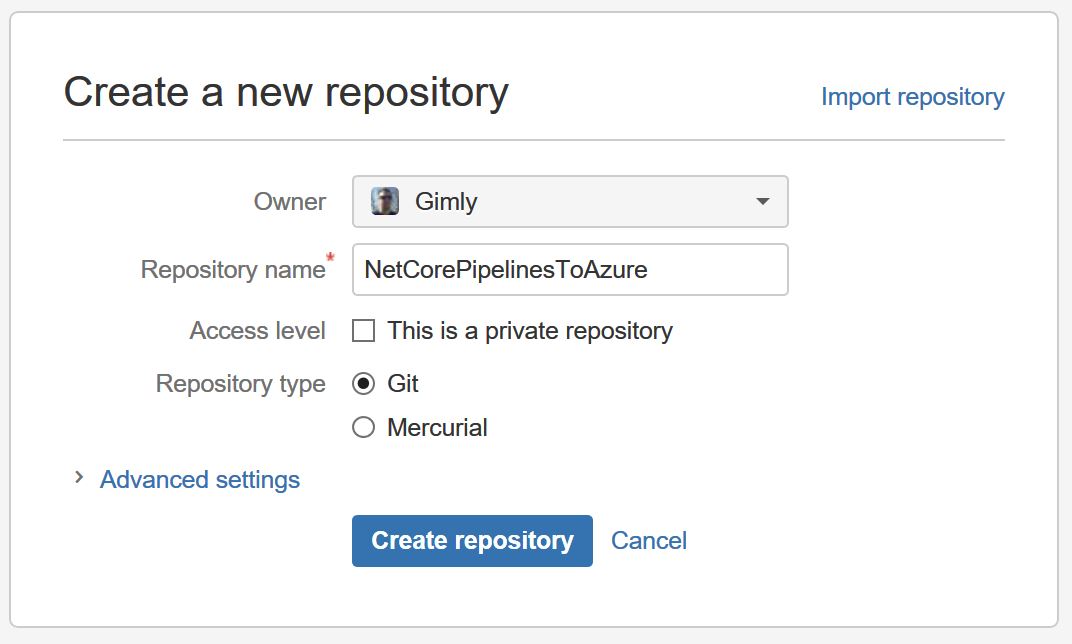
First, login to your Bitbucket account and go to Repositories > Create repository.
Use the following options:
- Repository name: NetCorePipelinesToAzure
- Repository type: Git
Next, we’ll push the local Git repository that we created in the first step to the freshly created repository in Bitbucket.
git remote add origin ssh://git@bitbucket.org/Gimly/netcorepipelinestoazure.git
git push -u origin master
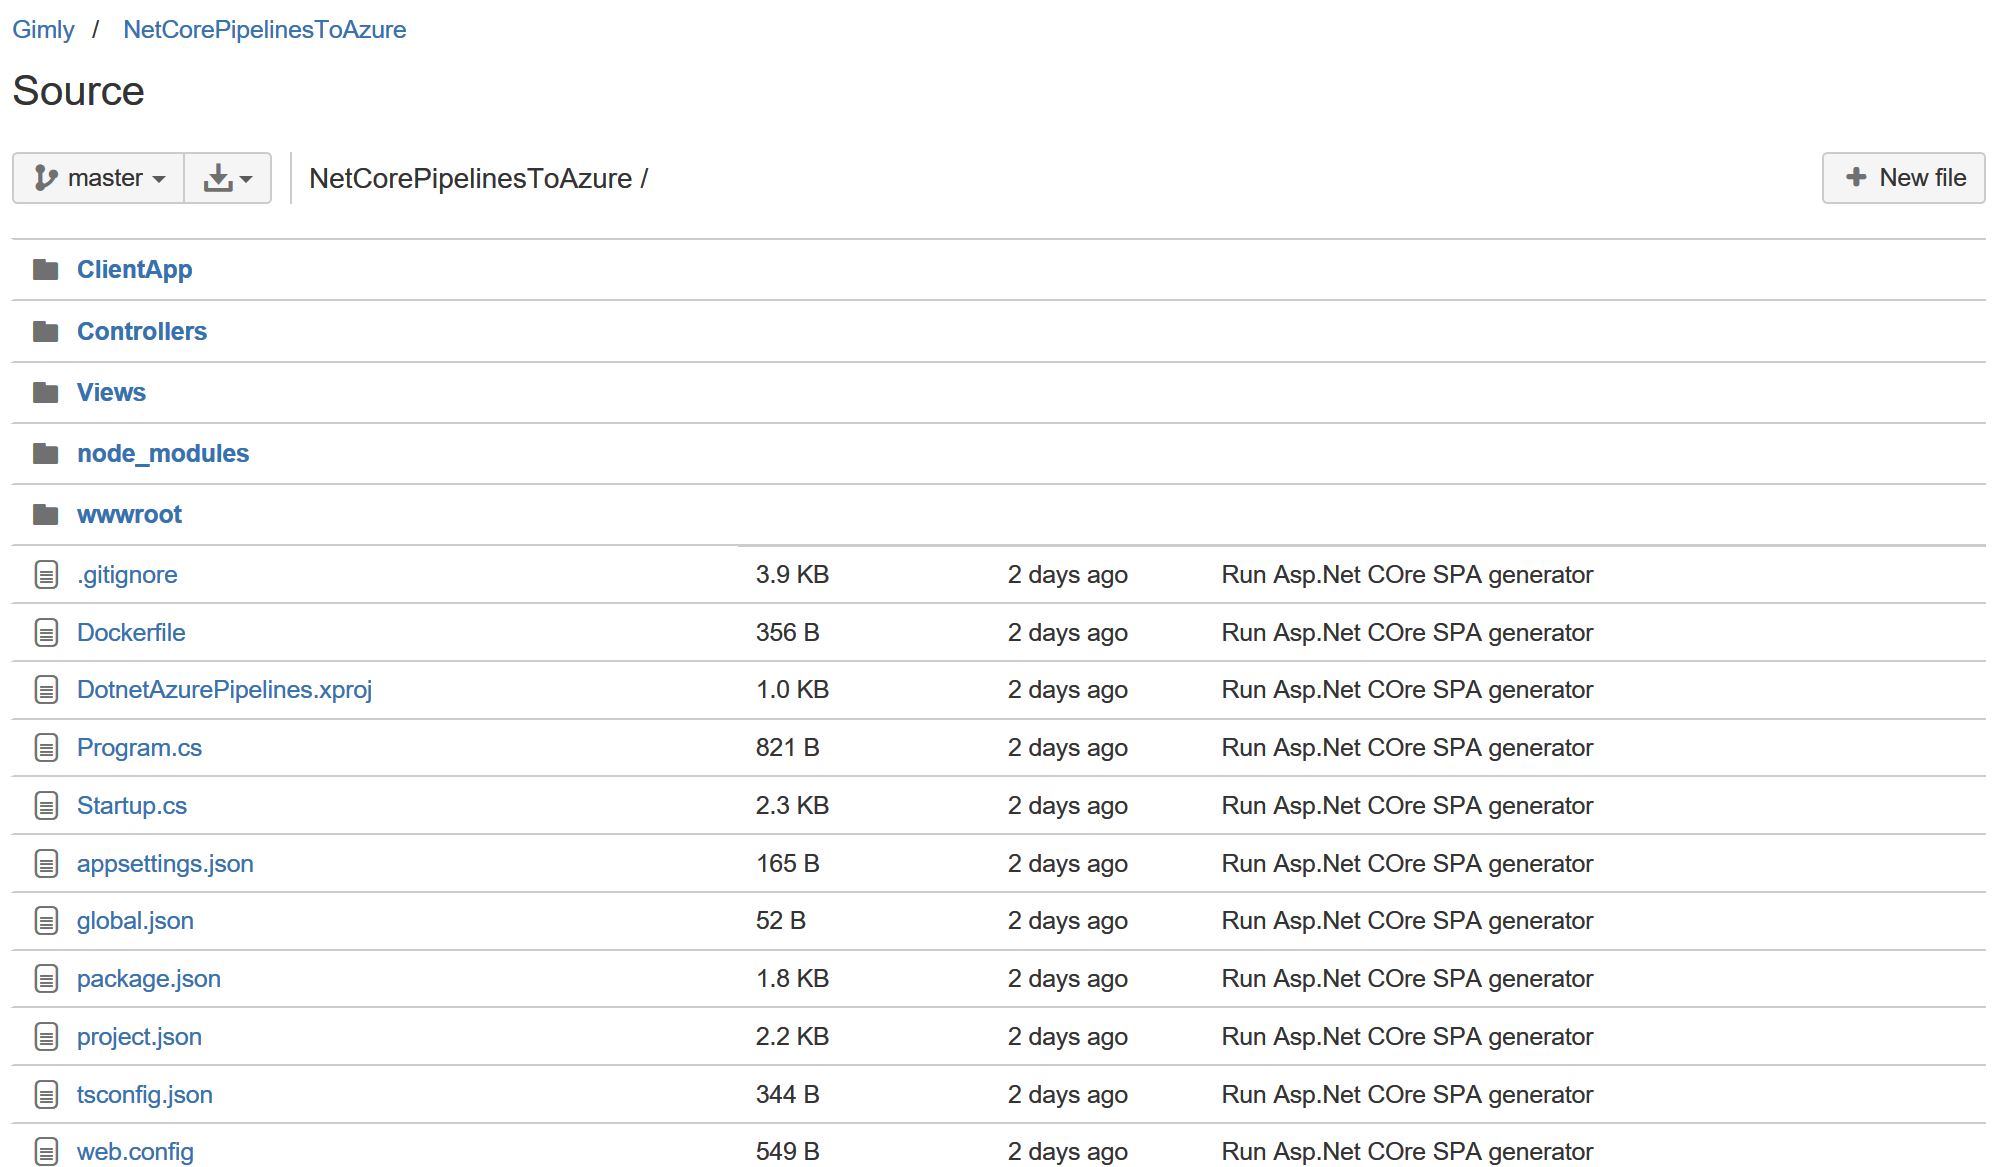
Once everything was pushed correctly, check that your source was correctly pushed by going to the Source option in Bitbucket.
Step 3: Create Azure App Services Web App
Final preparation step, we need to create an Azure App Services Web App that will host our application.
Login to your Azure account and select New > Web + Mobile > Web App.
Setup your Web App by chosing a name, a resource group and selecting an App Service plan (the free tier is fine for testing).
Click create and wait for the end of deployment.
Since we’re going to deploy using FTP from Bitbucket, we’ll setup a FTP/deployment username and password. This needs to be configured by going to the App Service you’ve just created and going to App deployment > Deployment credentials. Enter a value for the FTP/deployment username and add password and password confirmation. Don’t forget to click save.
To check, fire up your FTP client of choice (I’m using Filezilla on Windows) and try to connect to the FTP deployment account. You can get to the Overview menu. There, you’ll get the FTP hostname that you can use in your FTP client. Be careful that the FTP username must be in the form [web app name]\[deployment username].
Once connected, you should see in the root of the deployment FTP two folders, one called LogFiles and another called site which contains a wwwroot folder where we will deploy our application.
Step 4: Setup pipelines in Bitbucket
Pipelines works by adding a bitbucket-pipelines.yml file at the root of your source code folder. But first, it needs to be enabled it can be enabled by going to the repository’s settings. In there, a Pipelines group contains Settings, Environment variables and Integrations.
Go to settings and click the button to enable Pipelines.
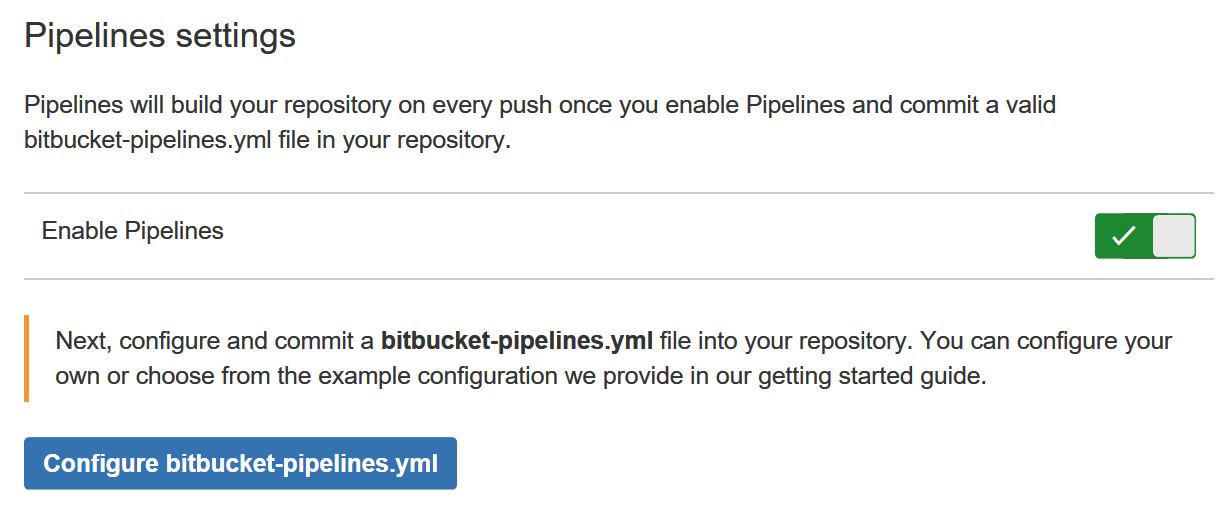
It will prompt you that the next step is to create the bitbucket-pipelines.yml file. By clicking the Configure bitbucket-pipelines.yml button, you’ll be brought to a menu where you’ll be able to select between a few templates for different languages and frameworks. Select .NET Core in the dropdown list and click Next.
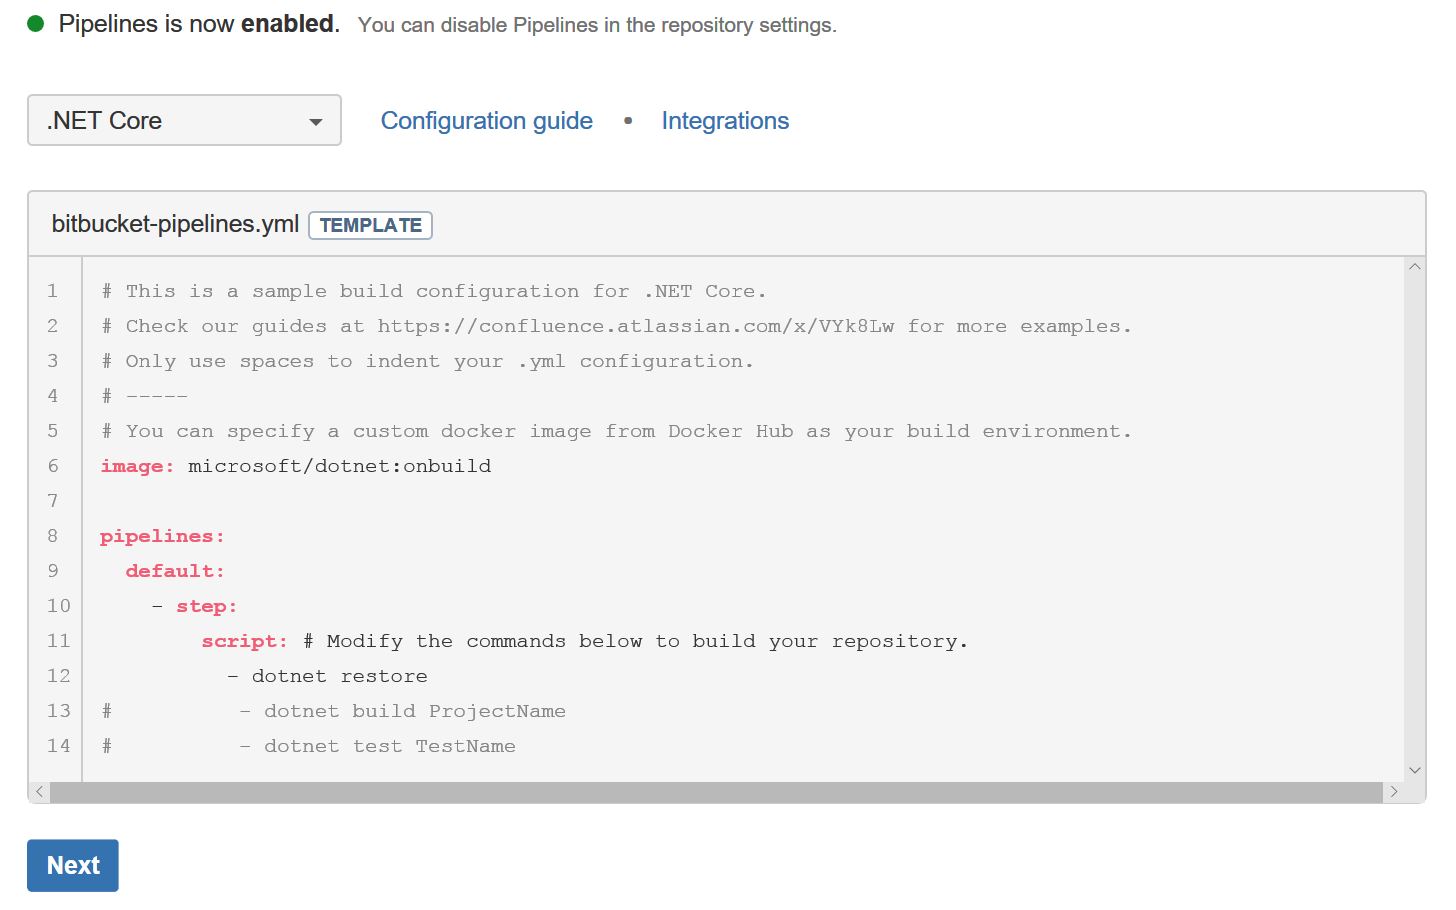
It will open the text editor in Bitbucket and will allow you to modify it before doing a commit to add the file.
Let’s copy the default template here in order to explain what it is composed of.
image: microsoft/dotnet:onbuild

pipelines:
  default:
    - step:
        script: # Modify the commands below to build your repository.
          - dotnet restore
#          - dotnet build ProjectName
#          - dotnet test TestName
The first line of the file contains a parameter called image that is the name of a Docker Hub image tha the script will be run in.
Next, it contains a pipelines keyword that defines the start of the build pipeline. Under, the default keyword means defines a pipelines that will be run on all branches. This keyword can be changed by a tags or branches keyword to configure pipelines that run only on a specific tag or branch. Check the official documentation to get more information on how to set this up.
Finally, the step keyword under which the script keyword which contains a list of all the commands that will be run.
Configure the yml file
In the default template, they are using the microsoft/dotnet docker image, which is fine for building .NET Core apps but lacks a few important things to build an ASP.Net Core application. For example, it doesn’t have Bower, Gulp or Node.js installed which are prerequisites for building the application. Obviously we could use apt-get and install them, but it means that it would have to be re-installed at every build and will slow down the process so much that it will be basically unusable.
A better option would be to create our own Docker image that would already contain all those tools installed. While making a Docker image isn’t very complicated, it still takes time and fortunately the guys at Microsoft are there to help us. They created a microsoft/aspnetcore-build docker image that is based on the microsoft/dotnet image but adds Node.js, Bower and Gulp already installed. We’ll therefore replace the value of the image parameter with this image.
Now that we have selected our image, let’s write the script that builds, test and publish our application.
Unfortunately, there is no FTP client in the Debian Jessie image the Docker image is based off, so we’ll have to use apt-get update and apt-get install ncftp to install the NcFtp client that we’ll use when publishing.
We know that the code will be cloned from the git repository and that the script will start at the root of the cloned source code.
Therefore, the first thing that we can do is run dotnet restore that will restore all Nuget references that are used by all the projects contained in the source code.
Then, we can call dotnet build. In our case we have only one project.json that is also at the root of the repository, so we don’t have to give the project name. If you have more project or if your project.json isn’t at the root you’ll have to give the path to the folder that contains the root as parameter of the build command.
Next step in a real project would be to call dotnet test to run unit tests project. A failed test will fail the deployment script and stop it. This makes sure that no code is being deployed with failed unit tests.
Then, we’ll publish the application into a publish folder. This is done by calling the dotnet publish command and setting the output. We’ll also set the configuration as release.
dotnet publish --output publish --configuration release
This creates the publish folder, and saves all the needed files in it. If you check the project.json you’ll see that there is a pre-publish and a post-publish script that are defined. The pre-publish script will call npm install and a few commands for webpack the post-publish will call a dotnet publish-iis that copies all the files needed for running the code on IIS.
Finally, we can upload all those published files to the FTP folder used to deploy the application in Azure.
We’ll first cd ./publish to be inside the folder to publish and simplify the publish commands.
Then, we can use the NcFtp commands to copy the published files to the FTP folder under /site/wwwroot.
ncftpput -v -u "$FTP_USERNAME" -p "$FTP_PASSWORD" -R $FTP_HOST /site/wwwroot *
It’s a good thing to never put information like ftp username or password inside scripts that will be commited to a repository because it’s insecure and also because it’s things that might change depending on where your code is stored. Pipelines comes with the notion of Environment variables that allows you to use variables in your deployment script that will be replaced by actual values by the script runner at run time.
Here’s the full bitbucket-pipelines.yml:
image: microsoft/aspnetcore-build

pipelines:
  default:
    - step:
        script:
          - apt-get update
          - apt-get install ncftp
          - dotnet restore
          - dotnet build
          - dotnet publish --output publish --configuration release
          - cd ./publish
          - ncftpput -v -u "$FTP_USERNAME" -p "$FTP_PASSWORD" -R $FTP_HOST /site/wwwroot *
Configure the environment variables
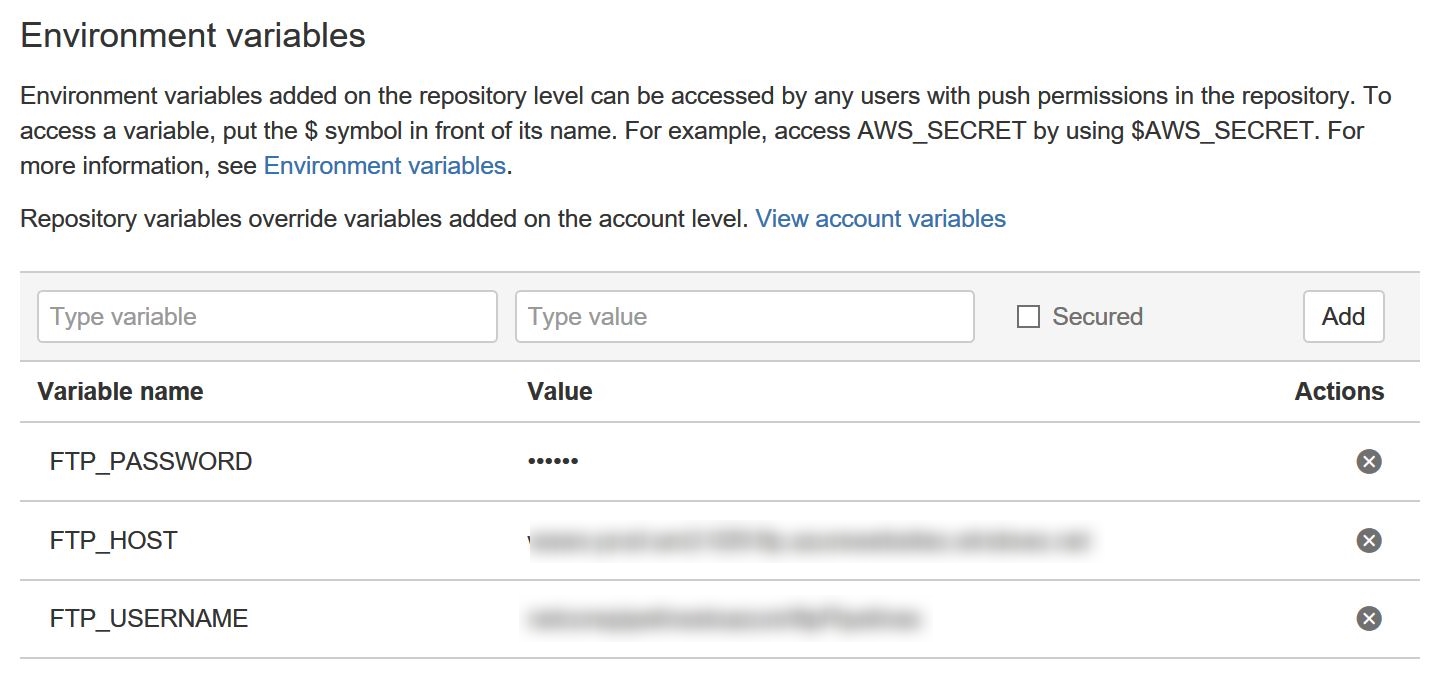
Last thing we need to do is to configure the environment variables. To do this, get back to your repository in Bitbucket and go to Settings > Pipelines / Environment variables.
There are three variables that we need to setup, FTP_USERNAME which is the FTP username that we defined in the setting up Azure step, the FTP_PASSWORD which is the password defined at the same step and the FTP_HOST which is the URL to your FTP deployment that you can get through the Overview tab in your Azure Web App settings. Don’t forget to check the Secured box next to the password so that it is not displayed during the Pipelines run.
Here’s what it looks for me:
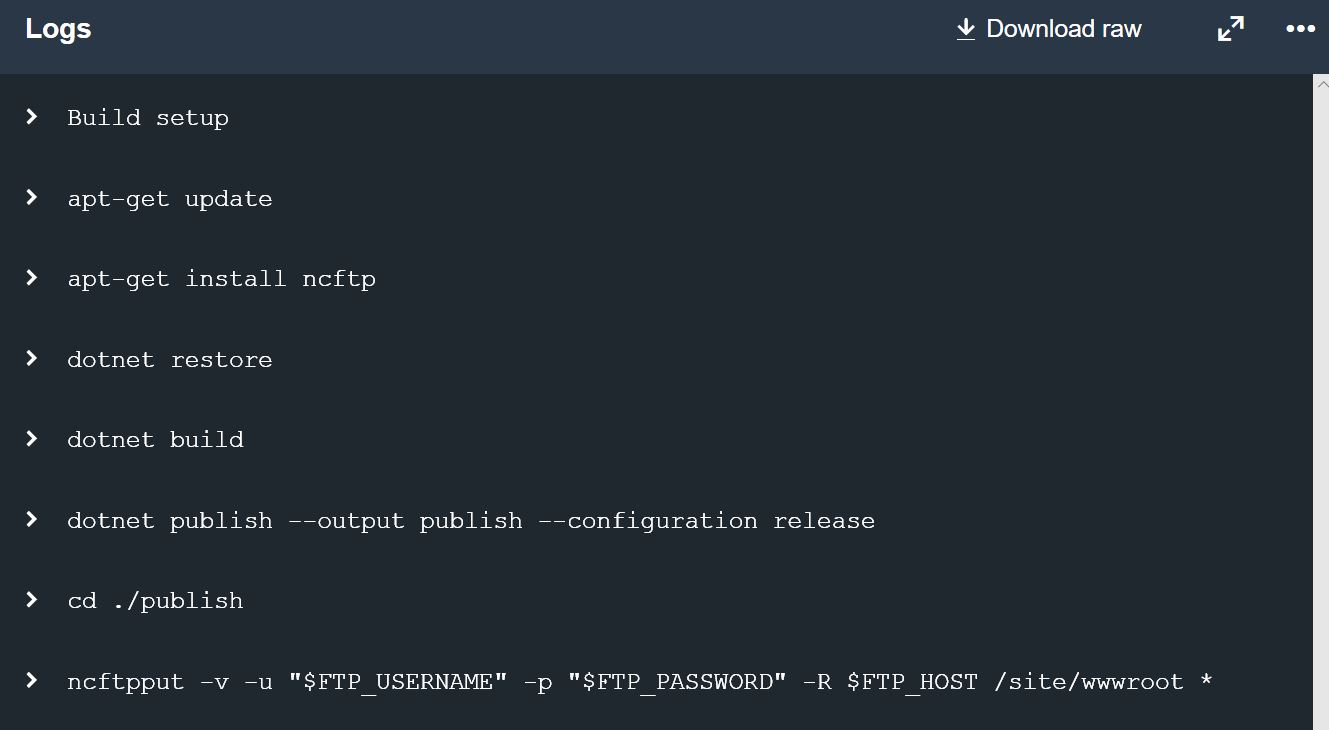
Running the pipeline
Now, if we change something and push it to the Bitbucket repository, it should trigger the pipeline execution. We can go to Bitbucket, in the Pipelines tab and follow the deployment process.
Once everything is correctly copied to the FTP deployment folder, go to your Azure URL and check that everything is working correctly.
Conclusion
Bitbucket Pipelines is an interesting tool for continuous deployment. The fact that it’s based over Docker offers a wide variety of options, but also has its drawbacks. For example, it means that it doesn’t allow to build things that cannot run on Linux, like the standard .Net Framework. It also means that you cannot build Docker images from within, which doesn’t allow a continous deployment to a Docker environment, which is quite annoying.
The Bitbucket team at Atlassian seems to be working to fix those issues though.